Saturday, June 23, 2012

Monogrammed Door Basket

I bought a looooooong basket awhile back for on our door (half-price sale at Joann's!)  Our front door is over 8 feet tall and mostly glass.  It's hard to hang things on there that look complementary and not too small.  And it must be something that can hang from a Command hook since I have to attach the hook to glass.

The basket is in a nice proportion to the door, but was a little bare, even with flowers poking out the top.  

So, I added our monogram.

I spray painted one side off-white.  

I spray painted the other side a pretty spring green.  


Now we were lucky in that our monogram is symmetrical, and thus can be flipped.  If your letter is J or F or G or such, you won't be able to flip it for another color.

I then distressed the letter on both sides with Distress ink.

I simply tied the letter onto the basket using simple off-white ribbon.  


When I decorate the basket for holidays that don't work well with green (Valentine's day comes to mind), I can simply flip the letter to the white side.  

UPDATE 6/28:

Since I posted this, I've since discovered a new addition to the basket.  A nest!

Here's the nest a few days ago.
I apologize for the grainy photo... it was a camera photo.

Since then, we now have FIVE eggs... one being a lot larger and spotted, most likely laid by a cowbird.

It's been an interesting little science lesson as we watch momma bird coming to sit on her nest everyday.  She's even accidentally flown INTO our HOUSE twice now (when it's been pitch-dark out and the door was opened.)  BTW, if it's late at night, just turning on the lights to guide her way to the door worked for us.  She had flown straight upstairs and sat on a picture frame in the bedroom hallway!

Read up on cowbirds.  They seem like mean, nasty little parasitic birds that drop off their eggs for others to hatch and raise.  They can lay up to 80 eggs in 2 months!  Seriously, people?  They are lusty little things.  Fortunately only 3% ever make it to adulthood (I say that based on the horrible nature of the birds and their taking advantage of other birds.)  We'll see how things continue.  I almost tossed the cowbird egg out of the nest, but I've also read that removing the egg can cause an angry cowbird momma to come back and destroy the remaining eggs out of spite.  :(  Don't wanna do that.

Unfortunately, I think my flowers will be ruined during this process.  Once the nest is over, we'll have to find some more for fall.  :)

Friday, June 22, 2012

The BEST {....} Hands Down.

Just a quick little post.  I've seen the quote around Pinterest and Blogosphere, but put it into use on a Mother's Day gift for the Grandmothers.

I took a scrap piece of wood, painted it, had the kids put handprints in another color (fingers down) on the wood, roughed it up a bit with Distressed Ink in the corners and across the picture to give it some depth, then wrote "Best .... Hands Down" across the top with a paint pen. 

Then I coated it with spray paint sealant.


You could make it for Father's Day (Best Dad, Best Granddad, Best PapPap, etc.)
or Mother's Day (Best Mom, Best Grandmother, Best Nana, etc.)
or Teacher's Gift (Best Teacher)
or Sister or Brother 
or Coach (long one with all the team on there)
or just about anything... make it bigger or smaller as you need.

Super cute... just sits on a table.  I wrote in Sharpie next to each handprint the name of the child, so that the recipient knew.  It was fairly obvious since I did them in order of age.... and thus the handprints got gradually smaller.  :)  I also added the year in the corner.


Thursday, June 21, 2012

My TRASHionista

I don't normally blog about my kids' school/events/lives, but this post sort of fits in well with this blog's main idea... DIY crafting/decorating.

My fifth-grade daughter had to complete a "Trashion Show" project for a grade near the end of the school year.  Meaning, she had to create a costume/outfit made entirely out of used products/recycled items with certain guidelines (no adult-products, no glass, at least three different types of materials, etc.)  She took it very seriously.  The day she got the information/rubric, she came home off the bus with ideas.  

At first, she thought she wanted to be a piggy bank, but after realizing how difficult it would be to find something that big and bulky, she settled on her second favorite idea... a viking.  I thought maybe lots of girls were talking about this idea... but she was the only one at the show.  Wonder if we had just watched How to Train Your Dragon that week?  LOL

That afternoon (with 6 weeks left to do the project), she sat down and Googled viking women.

She drew out the costume design, and it seems like weekly she added more accessories.

We were done with it 2.5 weeks ahead of schedule.  Yes, she is as impatient as I am.

I helped her with cutting with an Xacto knife and hot-gluing, but the design is hers.  I was so impressed.


Here she is a few weeks before the show, at home, and before she added the shield and cape to the ensemble.  Love how that pink plastic wrap added a girly touch.

She was careful to make sure no other clothes showed (except the shorts... and that was to make sure nothing ELSE showed.)  BTW, that was not in the rules, but she wanted a full costume, not just something thrown over an outfit.  Same with the shoes... most kids wore their own shoes, gussied up a bit.  She made these with braided grocery bags and a piece of cardboard.

The rubric required her to have at least three pieces... main clothing and two accessories.  She made a hat, a vest, a shirt, a belt, skirt, shoes, shield, and a cape.  (Couldn't do an axe... no weapons allowed.)  Included were paper towel rolls, a huge box, foil, plastic wrap, rope, old painting tarps, a plastic lid to a disposable cake container, cereal boxes (belt), grocery bags (belt and shoes), and pop bottle lids (shield and hat).

At the show, there were Musketeers, fashion models, Martha Washington, robots, PacMan, a clown (winner), and lots of athletes.

Unfortunately she didn't win any of the top four prizes.  :(  I was a little bummed since she put so much time and effort into this.  Believe me, until it was done, she talked about it daily.

But both her spirits (and my own) were lifted on the way out of the auditorium as parents and teachers came up to her and said she should have won.  LOL  She took it all very well, and was a good sport.  I was so proud of my girl!!!  
{can't say "little girl" anymore... she's only 1.5 inches shorter than me!!}
Sometimes I sit and wonder how on earth I ended up with such awesome kids!!

People say she's a mini version of me in appearance, but I'm starting to see a lot more of me (creativity, math-minded, craft-lover) coming out in her as she gets older.  Love it!  Isn't being a mom fun... love watching them grow up?  
Then I stop and realize, "No!  I want my baby back!!!"

I heard a rumor that this was the school's last year for the Trashion Show... not sure if it's true or not, but I'm thinking this would make a fun summer project.  Give each kid a pile of recyclables and tell them to create a costume out of it.  My second-grade son had to use recyclables this year to create a "creature".  That would be fun for the younger ones.
Maybe a miniature town?  Maybe a statue?  

Hmmm.... neighborhood Trashion Show?  Maybe with a theme?

Maybe the mommies and daddies can enter too... now THAT would be fun!

Oh, so many maybes!


Wednesday, June 20, 2012

Distressed Maps

We are fortunate enough to have a "loft" where the kids have another place to crash.


This room is basically an L shaped room at the top of the last flight of stairs.  It's essentially half of the "finished attic" space.  (My daughter's room and bathroom make up the other half.)

We have two computer desks, a couple of Ikea chairs that didn't fit anywhere else, an armoire with a TV/DVD player/Wii and two bookshelves in that room.  It's the go-to room when Mommy and Daddy kick the kids out of the main floor so that we can have some peace watch our own TV shows and movies.  

It's still white walls in there, although I have played around with an alphabet wall on one of the spaces (don't read it... the O is missing!)


I mentioned to my mom that I'd seen some neat photos (in a Pottery Barn catalog) where they put large maps on the wall.  Of course, now I can't find that inspiration photo. :(

Anyway, a few months back, my mom brought me three printed maps from long ago.... 70's?  80's?... that came as some promotional thing for a magazine or such.  


They are maps from the 1600s mostly, so not something that the kids would use for homework, say, but they looked cool.  Unfortunately, as you can see in the photo above, they were all rolled up and wrinkly... and in some cases, ripped.

So, I measured them and then let them sit for several months, trying to figure out what to do.  

Then one day as I was bumming around my craft supplies, I saw two identical poster frames... one was brand new, one I'd used to make this (which I no longer used):

Wouldn't you know it... the exact same size I needed for the maps!

So I unrolled the maps, deciding to not worry about the crinkly-ness.  I used glue-sticks to hold it to the back board, taping the edges to keep it on.


Here is the one map taped into place.  However, when you look closely...

Ooops!  Rips and wrinkles.

No Problemo!

I took my Distress Ink and rubbed it across the edges, the corners, and lightly across the top.  If you remember from my post on the Ballard plaques, the ink is picked up in any wrinkles, giving the wrinkles a cool distressed finish.

Here's the same photo as above, but distressed... even the rip looks cool when distressed.

Here is the full map, but distressed.


Now, framed.

And here is the other map I also framed.  I have one more map, so I may need to swing by Michaels' and hope they still carry the same one.  :)


Hmmmm.... now to paint those walls so I can hang up the new distressed maps.  

Linked up:

Striped Bathroom

My friends on Facebook are teasing me... I'm running out of walls!!  
{Hint: If you befriend me on Facebook, be prepared for lots of DIY updates.}  

Nah, they have nothing to fear... I have enough bare white ones to last me through the summer, I say.  ;)  After that, though, I'll be painting over painted walls.  :)  I should own stock in Behr.

The boys share a bathroom... 
you know, the "Jack n Jill" style, or rather "Jack n Jack" style bathrooms?

Unfortunately builders have some sort of dumb code they must follow which means all rooms must have doors that open IN.  So, now, we have this cute little bathroom with two doors that open INTO it and then another door that opens from that space INTO the toilet/shower area.  Ugh.  Too many daggone doors for a room that is 6'x5'!!

On my to-do list when we can afford it, hire a handyman to flip those doors around so they open OUT.

Because of all the dumb doors, I've been avoiding this room.  

However, I've had in mind what I've wanted to do... so since my oldest is away at camp this week, I figured it was a good time to do a little surprise for him.  

I wanted to do stripes.

Ala, this sort of thing I found on Pinterest....

I decided to go a tad darker and used the leftover paint from my son's bedroom.  
Now, it flows so well.  :)  Yeah, that was the plan.

I used an entire roll of FrogTape on this room!  And it has a wall-length cabinet, huge mirror, and three doors, and the room is just 6'x5'.  Ha!  That's a lot of tape.
BTW, in posting this on Facebook, I learned that our college friend works for that company.  Help support their mortgage... use FROGTAPE!  Love it!

I measured the stripes to be 8" high.  I used a level to draw the lines in pencil all around the room.  If a lightswitch or door top got "in the way" of making the stripes look better, I fudged that 8" a little.  :)

After drawing the lines, I used the tape to line the room, cover the ceiling edge and door trims. Fortunately, not everything needed lined with tape, like the top of the mirror... it was next to the white stripe (I kept the builders-grade white which complements the trim color well.)

Then came the painting.


It all went rather quickly.  Of course, with a tiny room (and no toilet to work around), it should.

I think from drawing lines to pulling off tape, it took me 4.5 hours (and that included a lunch break!)  The worst part was squeezing a 6' ladder in there to reach the 9' ceiling edge.  I put a tan stripe at the top and at the bottom, to distinguish it well from the ceiling and baseboards.

Here are the finished photos, complete with a wooden oar (thanks to my dad, Bob!) and two beachy prints (via a yard sale), and a BEACH sign (um... HomeGoods, I think?)

*oops... need to change that middle lightbulb!*  
See the flash?  Yes, I'm squatting down in the shower-room doorway!
The little anchor lantern-like decoration was bought at the Christmas Tree Store.

Over the doorway to the shower/toilet room.

Tommy's side.

Ben's side.  Love how the stripes seem to envelope the room with that huge mirror.  :)

Think Ben will be happy?  Tommy is indifferent, but then... he's only 8.

Linked to:

Tuesday, June 19, 2012

Egg Bakes

I like well-cooked eggs for breakfast.  
(i.e. No "over easy", "over medium", poached, fried.  Scrambled or boiled, please. 
 If that yolk moves, forget it!)

But I like some vegetables mixed in... you know, as yummy filler.  Sure, I can scramble them all together, but it's a tad messy that way.  

Scrambled eggs + one eight year old + one seven year old = dog gets eggs for breakfast.  

I looked for some neat breakfast ideas and found recipes for egg bakes.  

This was the sort of recipe that needn't be exact.  I found what I had in my refrigerator and just made it as I went along.  
So don't be expecting many numbers or fractions in my recipe. 

These are able to be stored in the fridge for another morning, though I don't recommend more than a couple of days.  They get a little greasy and icky-looking. :P

First I took some ramekins and sprayed them with oil.

Then I mixed eggs together with milk (approximately 10-12 eggs for 12 egg bakes... add milk as you like).

I added some salt and pepper before whisking the eggs.

I then cooked up what vegetables I had in the fridge.  Be creative.  I threw some baby spinach leaves, chopped onions, chopped peppers and sliced mushrooms into a skillet and stir-fried them in a little oil till soft.  You could even add chopped cooked bacon or breakfast sausage or ham, if you wanted some meat added.

After mixing all of the veggies with the whisked eggs, I poured the mixture into the ramekins.  

If you want, add some shredded cheese to the mixture or sprinkle on top.  I was aiming for low-cal this particular morning, so I stuck with eggs and vegetables.

I cooked them at 350 degrees for about 15 minutes... watch them, it can vary depending on your oven and what ingredients you chose.

 Wow!  These camera photos are awful, aren't they?  Sorry!
{Hint, hubby or anyone else, 40th birthday is coming up... wouldn't an awesome new SLR camera just be the bomb as a gift? LOL}

Here they are coming out of the oven... blurry picture alert!!

  The bakes will rise a bit after cooking, but if left to sit awhile (and then refrigerate), they will sink again.  So, eat soon to get a nice fluffy meal!

Mmmmmm!  Breakfast in a cute little bowl.  :)

Any exciting additions you can think of?  Broccoli?  Jalapeños?  Salsa?  Hot sauce?  Hmmm... 

Monday, June 18, 2012

Ahhhh.... Vacation!

The kids' last day of school was June 8 this year (usually it's a week later), so we packed our bags and headed out bright and early on the 9th (6am, I believe)!  We began our ten hour drive and, thus, our cool vacation!

We realized at some point this spring that our youngest daughter Gracelynn has never seen the beach.  She's been home with us for over four years now!  So, it was five years ago that we last ventured to the beach.  It was time.  :)

When our family wants to hit the beach, it's usually Corolla, NC (OBX).  However, I personally have been dying to go to Charleston, SC.  So, I convinced Mike to head to a beach down in SC instead.  We stayed at the Isle of Palms beach in SC... just a 20 minute drive to Charleston.

Here's the fam heading down the access to the beach on our first full day there.

This is Grace's first time EVER in the surf.  Oh, to have those skinny little legs and skin that darkens in, oh, about 10 minutes!!

While we were in SC, we decided to stop at Patriot's Point one afternoon.  It's consists of a few naval ships, including the USS Yorktown, an aircraft carrier.  It was a lot of fun to go exploring through the carrier and to climb on various equipment. 

Pretending to fly.

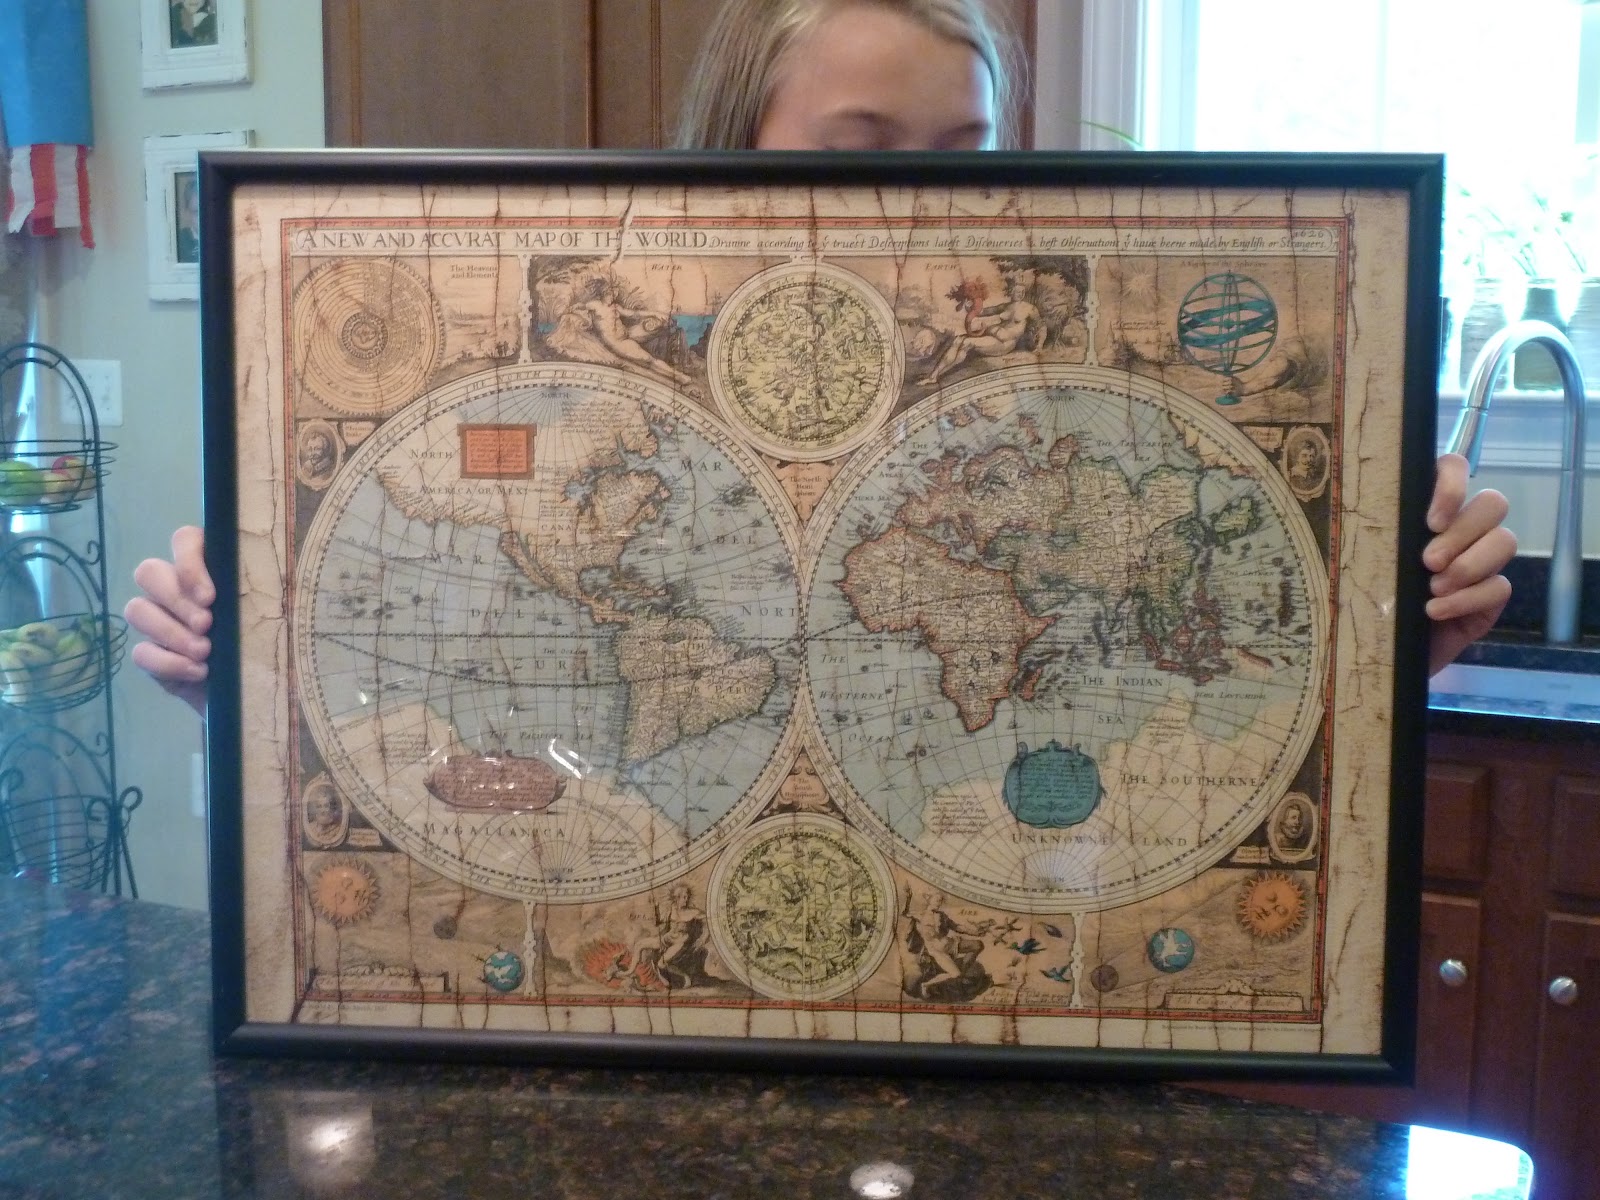
Um... wow.  I joked that I should make this for my husband's next family reunion!

Of course, I would need one of these... a mixer taller than me!

Here my son Ben and Mike are pretending to get the day's flight plans. 

Gunman Grace.

The next day, we ventured into historic Charleston and went on a cool walking tour!  I recommend popping into the Brass Pirate (on Market Street in the Rainbow Market behind a pizza restaurant.)  For $30 ($45 for six of us), you can get a bag that includes a cool Pirate scavenger hunt that has you trekking all over the historic parts of Charleston.  We saw about a half dozen old graveyards, including this one that included several markers with the Jolly Roger on them!  Pirate graves!  Ahoy!

The tour also took us down some cobblestone streets, looking at old churches, reading Civil War and Revolutionary War markers and reading about the pirates captured in Charleston.  Too bad it rained most of the time... we basically started running from one awning to the next!  But, avast my hardies, we still found some cool treasures!  Argh!  After answering some 25+ questions, we were rewarded with a cool pirate prize back at the shop.


In Charleston, we stopped at the City Market and tried some yummy pecan pralines and bought some tees and jewelry... and even grabbed a cute HairWrap for Grace.  
This picture was taken in SouthEnd Brewery... great fire-oven pizza.  :)

On our tour, my husband stopped me at one point and said, "Chris... look at the houses!"  Aha!  Rainbow Row!!!

Our old college friend lives in Charleston and had some yummy local restaurant suggestions (beyond the same ol' Hymans and such that you'd find in Southern Living....)

We went to RB's in Shem Creek for some good local seafood.  Yum-Oh!  

One spot that HAD to be tried... twice!... was Charleston's Cafe off of Johnnie Dodd's Blvd.  Just in a little shopping center, but it had the most amazing breakfasts!!!  

HIGHLY recommend the pancakes.  :)

A few days later, when it was a bit gloomy and overcast, we decided to forego a whole day at the beach and took the afternoon to visit Magnolia Plantation.  Too cool!
It boasts the country's oldest garden (planted back in the mid 1600s).  And the whole plantation was filled with these OLD oak trees, just dripping with moss.  That tree is just too cool!!

That's a BIG tree!

And that's a lot of moss!
(Doesn't he look thrilled?)

Even in SC, we found my hometown represented... Steel City Pizza.  Had all sorts of Pittsburgh signs and even a Kennywood sign 

(ten points to anyone that knows what that is!)

Another good breakfast spot down on Isle of Palms.  Watch out though... moments after this shot, we all got eaten alive as we walked through a SWARM of mosquitoes on our way to the car.  Dang things even flew in after us.  We killed no less than 8 mosquitoes in the car alone!  Ouch!

We weren't sure we'd be able to spend Father's Day truly celebrating, since we had plans to take our son to camp that day.  So, instead, the kids and I surprised Daddy with a Tie-Banner (Pinterest anyone?) and some fun little MadLibs about dads.  


I like that my older kids can take photos now too!

We saw a lot of Palmettos around (and one Palmetto bug only, thank goodness)... especially on cars and tees and flags (it's the SC flag).  Had to get the little vinyl decal for our car, of course.

Mike said that someone once gave him a bit of advice... always get a picture of your family enjoying themselves on the beach... so he snapped this photo.  Thirty-One came with us to the beach house and to the beach, of course!

Our last trek back to the beach house.  So sad.

I made it my goal to eat some true southern food.  At Pages' Okra Grill, I had me some PICKLED OKRA!  

Oh yeah!  
Had some collard greens and fried okra, too.

This is the lighthouse on Sullivan's Island (please forgive the poor camera-phone photo taken while driving).  I had to get this shot.  We affectionately referred to this lighthouse as "Ferb".  :)  Tee hee.

Alas, our trip had to end.  But I guarantee we will be back someday.  Charleston's charm rubbed off on us and is beckoning us back one day.  Love that town!  
Bless its little heart.