Monday, February 28, 2011

What To Do With Corks and Old Books {Tassels!}

Oh my!  I never thought I'd take a week off from blogging when so many things are also running through my mind.  Unfortunately life happens.  

I am a preschool teacher two days a week, but also plan activities for a third day every week.  On top of that, I organize the supplies for crafts for our church's Sunday School program.  It sounds like it shouldn't be a big commitment, huh?  Give someone like me the spring lesson books with 26 craft lessons, 2 classrooms each... and I spend several straight days trying to buy, cut, write verses, etc.... all at once... to get it all ready by the following Sunday.  Call me OCD, but it drives me nuts to have things only partially done.  However... it's now done and won't need any thought till June.  :-)  Just in time for VBS Preschool directing to kick in.... (yes, I am slowly learning to say "no"... but for later projects...)

Oh, and I'm a mom of four.

I missed blogging!!!  It was driving me bonkers that I couldn't get online to blog.  

But alas... I'm back!

Today, I decided to tackle a project I've been wanting to do for awhile.  Tassel-making.  Now, I'd love to be able to sit down and make gorgeous FANCY tassels with pretty figurines, expensive fringes, and beautiful ribbons.  However, until those costly items show up in a local yard sale or thrift store, I'm upcycling a few things sitting around the house for now.  

Last weekend, I grabbed a bag of corks from Freecycle (have you ever used Freecycle?  I LoooooVE it!)  Yes, we drink wine.  Yes, I *should* have a huge bag of my own corks by this time in my life... however, we destroy corks.  Call me a novice de-corker.  I rip 'em to shreds every time.  

(If anyone knows how to remove them easily and without ruining them, let me know!)

A few months ago, I grabbed a few old books at the thrift store that appealed to me:  a worn-out Bible Story book (not a Bible... don't know what the protocol on that is, but decided it wasn't worth having to explain myself later...this is just a story book for kids and liked the idea of seeing Biblical names in my book-page projects later) and a Children's dictionary. 

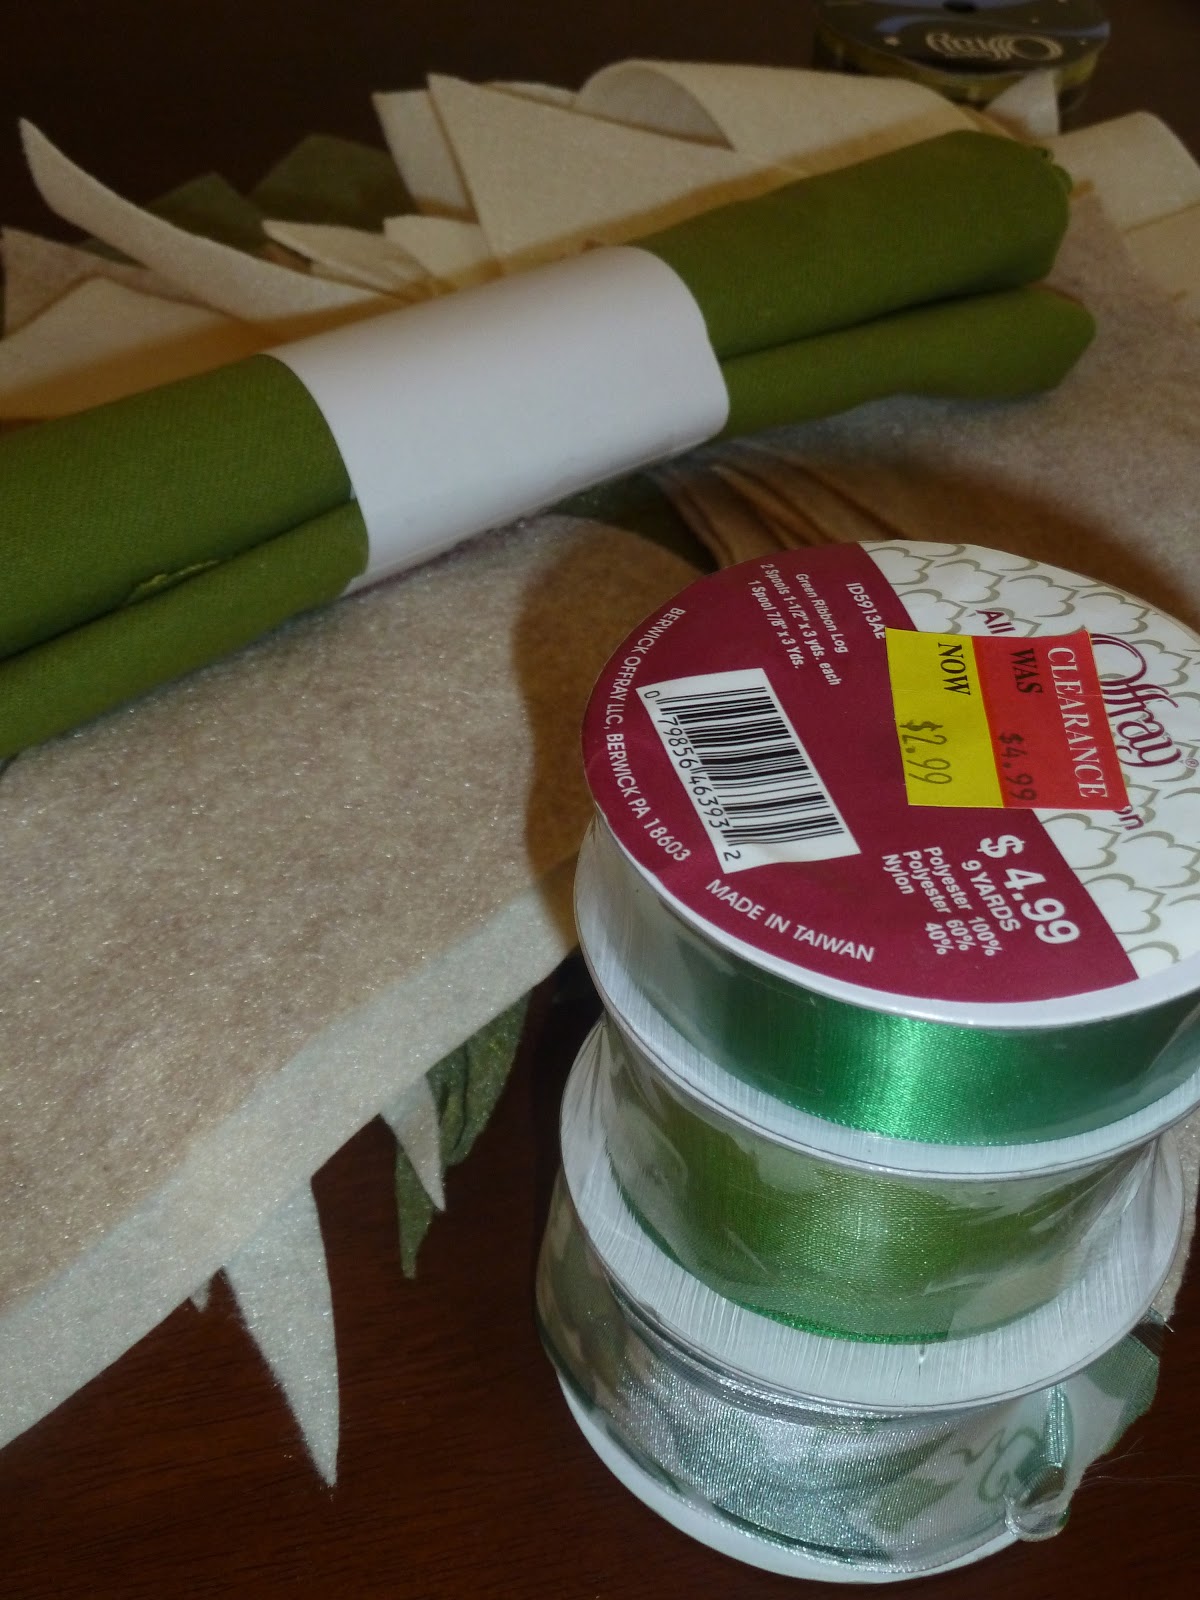
So, together I put those items along with a few ribbons, wire and trinkets I found in the craft closet.

Needs:
Old book pages (cut into a fringe)
Ribbons
Wire
Hot Glue
Beads/Ink/Stamps/Clothespins/Etc

Steps:
1.  First take a few pages of fringed book pages and roll into a tassel.  Secure with wire.  Hot glue to the bottom of a cork.
2.  Begin to add more pages to the wired section and then begin glue ribbons around the cork.  In my case, I formed loops with the ribbon to make it all a little puffier.

3.  Layered a few more pages and ribbons


Then to cover up the ugly hot glue mess and ribbon/paper edges, I wrapped some thinner ribbon and some sisal rope around the top.


4.  Then, I decided to give this a little charm with some personal interest.  I used a mini clothespin and stamped it with our anniversary date.  Then I strung a mini chain of some Chinese character beads to give the tassel a little embellishment.  (We have an adopted Chinese daughter and have been to China.)


5.  I hot glued a little loop of wire into the hole already in the cork, strung a pretty taffeta ribbon through it and ...


What do you do with a tassel?  What can't you do??


I made another one with a few other goodies... but same colors.


Oh... I love to re-use old stuff!


Friday, February 18, 2011

Quick Sausage StirFry, Pittsburgh Style

I'd love to say that I'm on Weight Watchers, but the truth is that I'm cheating like crazy.  Two years ago, I truly followed the WW points plan and lost 25 pounds in 4 months.  (Go me!)  Well, then reality hit... we became stressed out over selling our old house, keeping up with four kids' sports schedules, living in four "homes" over the course of 3 months, eating hotel breakfast buffets (Belgian waffles for a whole month!!), eating out at Buffalo Wild Wings four times while living at the hotel (... what can I say... we could walk across the parking lot to that place, and the kids loved it!).... not to mention the many, many, many other restaurants we tried while having no real kitchen.  So, we packed on the pounds quickly.  I want to get back into a really healthy routine, but it's so hard to get going.  


Starting January 1, I read up on the new WW plan and started counting.  Now, I'm good with my three meals a day... but I tend to snack in between a little too much (while forgetting to "count").  I lost four pounds so far (but have maintained that weight for 3 weeks now... ugh!)


So... gotta get better with this counting thing again!


In the meantime, I've developed a REALLY easy three-ingredient meal that gives you about 6-7 points per meal, depending on how much you eat and which items you choose.


Being from Pittsburgh originally, I was raised on pierogies, so they are almost always in my freezer.  I personally like the cheddar/potato variety... and Mrs. T's rocks!  I found a few other ingredients to make a great, yummy stir-fry.


This photo shows 2-3 servings.

The ingredients:
1.  SAUSAGE  The Al Fresco chicken sausages are so yummy, and only rack around 3-4 points each.  Any flavor is good... I personally love the Buffalo flavored sausages, but they are hard to find around here.  I've also used Aidell's flavored pork sausages, but they are a little more points.
2.  PIEROGIES  I  use Mrs. T's mini pierogies.  (Can't remember the exact points, but I only use a few.)  I've used the fullsize pierogies, too, but you can only use one or two.
3.  BROCCOLI ...frozen or fresh, depending on what I have.  I try to use a lot since veggies are zero points and are filling.

Steps:
1.  Slice up the sausages (in the photo above, I used two sausages)
2.  Fry them up in a pan using only cooking spray if necessary.  The sausages are already precooked, but I like them nice and browned.  While these are browning, I "boil" the pierogies in a bowl of water in the microwave for five minutes.  It warms them up easily enough that way.
3.  I scoop out the pierogies and add them to the pan along with the broccoli.
4.  Throw in the chopped broccoli.
5.  Continue stir-frying the mixture until everything is nicely cooked and browned.

As you can see, I'm never very precise (part of my current WW problem!!!)  I use whatever I have for sausage, so that always changes points.  Same with pierogies... depends on how many I want to eat.  But the entire meal takes less than 10 minutes to cook up.  I will often make this in the morning to pack for my lunch when I work.

Handmade Colonial Powdered Wig


My youngest son will be Thomas Jefferson in March.  He's required to dress like him (recite a speech, etc.)... but they've asked us to not spend much money.  So, after surfing the web a bit, I came across some instructions on making a wig from cotton balls.  


I cannot remember where I got the idea originally, but they called for a painter's cap.  I wasn't sure what that was, but when I stumbled across a $1.00 white baseball cap at AC Moore, I figured we'd give it a shot.  Two bags of cotton balls, a piece of black felt, and some hot glue later.... here's the wig.  I just glued cotton balls all over and turned it backwards... and wah-lah... 


It may not be perfect, but it cost about $3.... can't beat that.

St. Patty's Banner


Well, I had to remove all those pur-ty Valentine decorations now that it's over.  (I'm definitely the impatient one once a holiday is over... gotta clear out the old decorations and make way for new... the day after!)  And my mantle looked so bare!  So, I did what everyone would do.  I set aside any and all plans to actually clean and organize my house on Wednesday (my day off) to run out to Joann's.  


I have precisely 3 hours from the second my oldest gets on his bus till the Kindergarten bus arrives.  And the nearest craft stores are 25 minutes away.  I also had to squeeze in Home Depot and the Dollar Tree (c'mon... those are gimmes with a new house and a thrifty mom).  Unfortunately I could easily spend two hours in Joann's alone.  Yes... do the math (remember I was a math major)... that doesn't add up.
So, after flying around the stores.  (OK... most people would think I was being pokey, but have you ever SEEN how much stuff there is to look at.  Home Depot was probably my quickest trip at 20 minutes.  But Joann's.... geesh, they have clearance items scattered all around the store... it's not easy to "fly".)  I probably missed some great deals, but I managed to get these.  (The ribbon is from a few weeks ago at AC Moore.)
Needs:
1.  Felt (I got sagey green, tan, and offwhite colors)
2.  Ribbon (I used the one on the bottom... the ivy print)
3.  Fabric scraps (or ribbons scraps would be fine)

Steps:
1.  Cut the felt into triangles.  At first I did two triangles per sheet of felt, but realized (remember... math mind... unfortunately, it sometimes it takes awhile for it to kick in) I could do three.  (Fold each sheet in half, then half again... then cut on the diagonal from 
one corner to the opposite corner).
2.  Then make little holes in the upper corners of each triangle.  I'm not into grommets or precise holes.  Instead.  I folded each triangle like this....
The I folded each top over like this....
And cut a teeny slit on that fold about 1/2" in from the edge.
3.  Then line up the triangles and weave ribbon through them.  I made them overlap.  Here is a close-up.
I did a perfect pattern (my preschoolers would be SO proud!)
4.  After the triangles were lined up, I made little strips of fabric about 1" wide.  The fabric I used was a dull green bull denim.  Surprisingly, it looks a lot like grosgrain ribbon.  However, the ONLY reason I picked this fabric is because it was a good color and was in the clearance bins.  I tied the strips between each triangle.  When I was done, it looked like this...
Here's the final product.
Remember those white candlestick finds from the thrift store on Monday?  Here they are on the mantle.  I just got a few tapers and some super cute ribbon (ignore the remote back there... oops!)


Tuesday, February 15, 2011

A Few Recent Crafts {sans the step-by-step photos}

I have a few pictures of some recent crafts to share... ones I did prior to blogging, so I mostly have only the final project (unless it was recent enough that I was considering the blog already.  LOL):

Chalkboard Globe 
I sprayed the cardboard globe with chalkboard paint and then sprayed the holder with silver paint.
I plan to use this in the kids' loft/computer room and keep messages on it 
(such as... "keep our world clean... starting with this room.")

Photo Clipboard
This is the clipboard I used on the recent Chalkboard Makeover post.  I printed out a favorite shot of my kiddos onto just regular computer paper (after tweaking a bit with some photo editing and giving it a sepia tone).  I painted the edges of the clipboard with black paint, cut the photo to size, used Mod Podge to attach the photo, cut the excess away with a craft knife, and added texture by making cross-hatching strokes between various coats of Mod Podge.

Pantry Bin Makeover
OK, this is pretty minor.  I'm trying to organize my pantry a little, and it's taking longer than I anticipated to gather all the goodies I want to use (because I have the icky white metal shelves, I want nice solid wooden bins and baskets... and they aren't always cheap).  Here's a snippet of one of my "new" bins.  I went storage room surfing.  These were actually Target finds from long ago.  They were red and blue and were in my boys' rooms years ago to hold toys.  I didn't want fire-engine red bins in my pantry, so I spray painted them tan and then masked off rectangles to spray chalkboard paint on them.  I used my Chalk Pen to give a slightly more "permanent" chalk title to the bins.... one that won't brush off easily.

...and the last little craft to show tonight...
The Coffee Filter Wreath
I LOVE LOVE LOVE this wreath.  I got my inspiration from a wonderful blog, 
As soon as I saw how easy and inexpensive this was, I set out to get the materials.  This cost about $5 total, including the ribbon.
I made it shortly before Thanksgiving when my new home was ree-eee-eeally bare.  I needed some kind of fall decor.  The funny thing is that it STILL has not been removed.  I still have it hanging from the same mirror in the same room.  At Christmas, I flanked it with little snowflake decorations.  And now, it just has become a part of the room.  That mirror needed some oomph anyway.


Now, scroll back up this post... notice a trend?  Yeah, you can say I kind of like the tan/black/white decor.  


Monday, February 14, 2011

Chalkboard Makeover

A few months ago, I stumbled across these at a local thrift store (notice a trend in the last few posts?)  I think I paid $1.99 for the top one, $2.99 for the bottom one.  
They are almost identical in size, so originally I thought I'd hang them side-by-side.  But, I've changed my mind.  I came across this paint at AC Moore for half-price ($3.50).  
I figured I'd spruce up the chalkboard paint on the board with the flower.  So, I taped off the edges, just as the original paint job.
Then I painted the "brown" chalkboard paint onto the board.  Hmmmm.....
BROWN?
Does this look brown to you? (And yes, I see there is a serious problem with that picture on the board... uh, it's too shiny... should've sanded it down... but you'll see how I fix that later.)  
I added a little ribbon to the top (another sale-price find)

Now, on to fix that big ol' spot on the board that just wouldn't cover up well.  I have a future idea to fix this, but in the meantime, I found this.

I made this clipboard last year by "ModPodging"a black and white printout (just on computer paper) onto a mini clipboard.  
It covered the "whoops" quite well!
I added a few little reminders to the crew upon their exit of the home...
And Wah-lah!
I have plans for the other board... it'll take me a little longer to do that one, though.

While I'm standing in the mini mudhall, I might as well show my other little project.  I had purchased this big frame at Christmas, but decided after opening it up that I didn't like it for the picture I had.
So.... I wrapped burlap around the back board, printed out a cute quote on my Cricut... and now I use the glass as my "whiteboard".  

I have plans for this mudhall, so this board won't stay forever.  I'm sort of liking this at Brown Paper Packages.  Isn't it adorable?  I think I'm even going to borrow a similar wreath idea.  My daughter will once again say, "Another wreath??"... I can hear it now.

Kierste made these for the bathroom, but I think it'll look awesome in our mudhall.  I'll keep you posted on that progress....

Good-Deal Goodies

Here are today's fun thrift-store finds:
Okay, I actually found the wire bins at a local antique/craft store, but I've been wanting a few wire bins for some organizing.. Found em!  Since V-Day is almost over, I think I'll change it out from the red, but they are so cute!
The wooden pillars are taper-candle holders.  They look almost perfect as is!
(Also found some preschool books and grapefruit spoons, but figured they weren't as impressive to photograph... LOL)

A Little Thrift Store Decor

I looo-ve "thrifting" at thrift stores.  My love started a decade ago as I searched for those darling Gymboree clothes and Hanna Andersson pajamas for my little ones on our seriously tight budget.  (Who can pass up 69 cent Hanna PJs??)  That affinity turned into eBay selling for awhile.  My husband used to joke that we didn't need a clothing budget... I actually MADE money with clothes.  I'd buy the kids clothes super cheap, let them wear them for the 3 months till they outgrew the clothes, and then re-sell the name-brand clothes on eBay for more than I paid.  
Somehow with child #3 my thrifting-turned-eBay sales diminished.  But my love for a good deal continues... even if I am not filling a closet for a few quarters/piece anymore.
I'm all about saving a buck when I can... nowadays more with home decor and crafting fun.   
(I found this grasscloth frame for $2, added red burlap behind the glass, wrote on the glass and added a couple of red burlap roses.  Easy $2+ Valentine's decor.)

I'm used to the mega-stores out near DC or up in PA where I could fill a cart for $40 and be positively giddy on my drive home.  Out here, we only have a few smaller ones within a short drive.  Less giddiness, but still a rush.  There is one in the town next to us... and of course, a ReStore, too.  (LOOOVE to wander around that place!)  I try to make time to visit them weekly when I can squeeze it in.  And sans-kids whenever possible.  :-)
So, a few weeks ago when my thrifting itch was driving me crazy and I knew I NEEDED to get out, I ventured out a little further than the norm.  (My son was actually serving with the church youth group that weekend in my regular store, and I didn't want him to think I was stalking my little boy... )


Here is what I found:
Two of these glasses at $2/each.  Are they meant to be glasses?  A little squared off, I thought.
I figured I'd spruce them up just a tad and make a couple of candle holders.  

Needs:
Glasses (any solid color or plain glass, any shape with a stem would work)
Sisal rope
wooden tag
chalkboard paint
raffia
candles (in my case, the faux LED type...looks real, doesn't it)
hot glue

Steps:
1.  Wrap the stem with sisal rope.  I kept it pretty tightly wound and would dab a bit of hot glue every 5 or 6 wraparounds to keep it secure.  Here's what it looked like when I was done.
2.  At this point, I realized my handling of the glass resulted in a lot of fingerprints. So, I cleaned 'em up before I added details to the top.
3.  I took a little raffia and wrapped around the middle of the glass top and knotted it.
4.  Then, I added my little LED candles to the glasses.  Of course, real votives would be fine, but I liked the size of these... votive-width, but a little taller than the normal votives.  This way I can achieve the glow without the messy wax puddles that would result from real candles.
5.  At this point, I decided they needed a little something.  So, I sprayed a couple of wooden tags I had on hand with chalkboard paint, added a few numbers (to pay homage to that math degree I don't use much anymore...), and got....

Cute, eh?  Maybe I can find a few green candles for St. Paddy's Day...